Showing posts with label Ravenna. Show all posts

Sunday, January 20, 2013

Blue tape time!

After we visited the house earlier this week, I told myself that I really don't need to go back until our final walkthrough.  All of the major items in the house are complete and the house is locked after hours. I'll have a "reveal" like Nadase did.   Well, that didn't last long.  After our PM called on Friday, I couldn't stay away!  It's not like anything exciting happened. He said the the range hood and dishwasher were being installed.  It was enough of an excuse to make the drive to see it :)

The first thing we saw when we walked in was blue tape everywhere.  Our PM really has an eye for imperfections.  Love it!


They also finished fixing the bathroom window.  I was so worried about that, but it's all level now--window and sill. 
 
There were also a couple of things we weren't too happy about (in addition to unflushed pee in our toilet and chewing tobacco spit in the sink).  If you've read my blog, you might remember the question about that pesky Broan range hood in the garage.  When our appliances arrived, I figured the hood was for someone else since our GE Profile hood had been delivered.  Not so much. Our GE Profile hood is nowhere in sight and the Broan is plugged in, but not yet hung.  I'm not trying to be too picky, but we paid for the package with MATCHING appliances--including the GE range hood.  All stainless isn't created equally and there is a slight difference between the Broan and the GE stainless color.  Also, the GE profile hood doesn't have any buttons on the front.  While neither are all that attractive, at least the GE has clean lines.  Here's the Broan:
 
 
We talked to our SR and tried to reason through this.  Maybe they chose this one because of the new outdoor venting requirements and the issue with this vent coming into the top of the hood vice the back.  My response was to find a GE profile hood that would fit the situation.  We'll see what happens. 
 
I also questioned why our dining room light is the same as the one in the foyer, which is definitely not right.  The SR said he's pretty sure that was done to pass an inspection and that it's only temporary.  This is probably why they lock people out during this stage. :) 
 
 
Here are a couple more pics of St. Cecilia.  It looks completely different in the day light than it does under those harsh CFLs.


More random pics of the house...can you believe there's still another month until we close?!
 
Bonus room w/ Level A Thornwood carpet
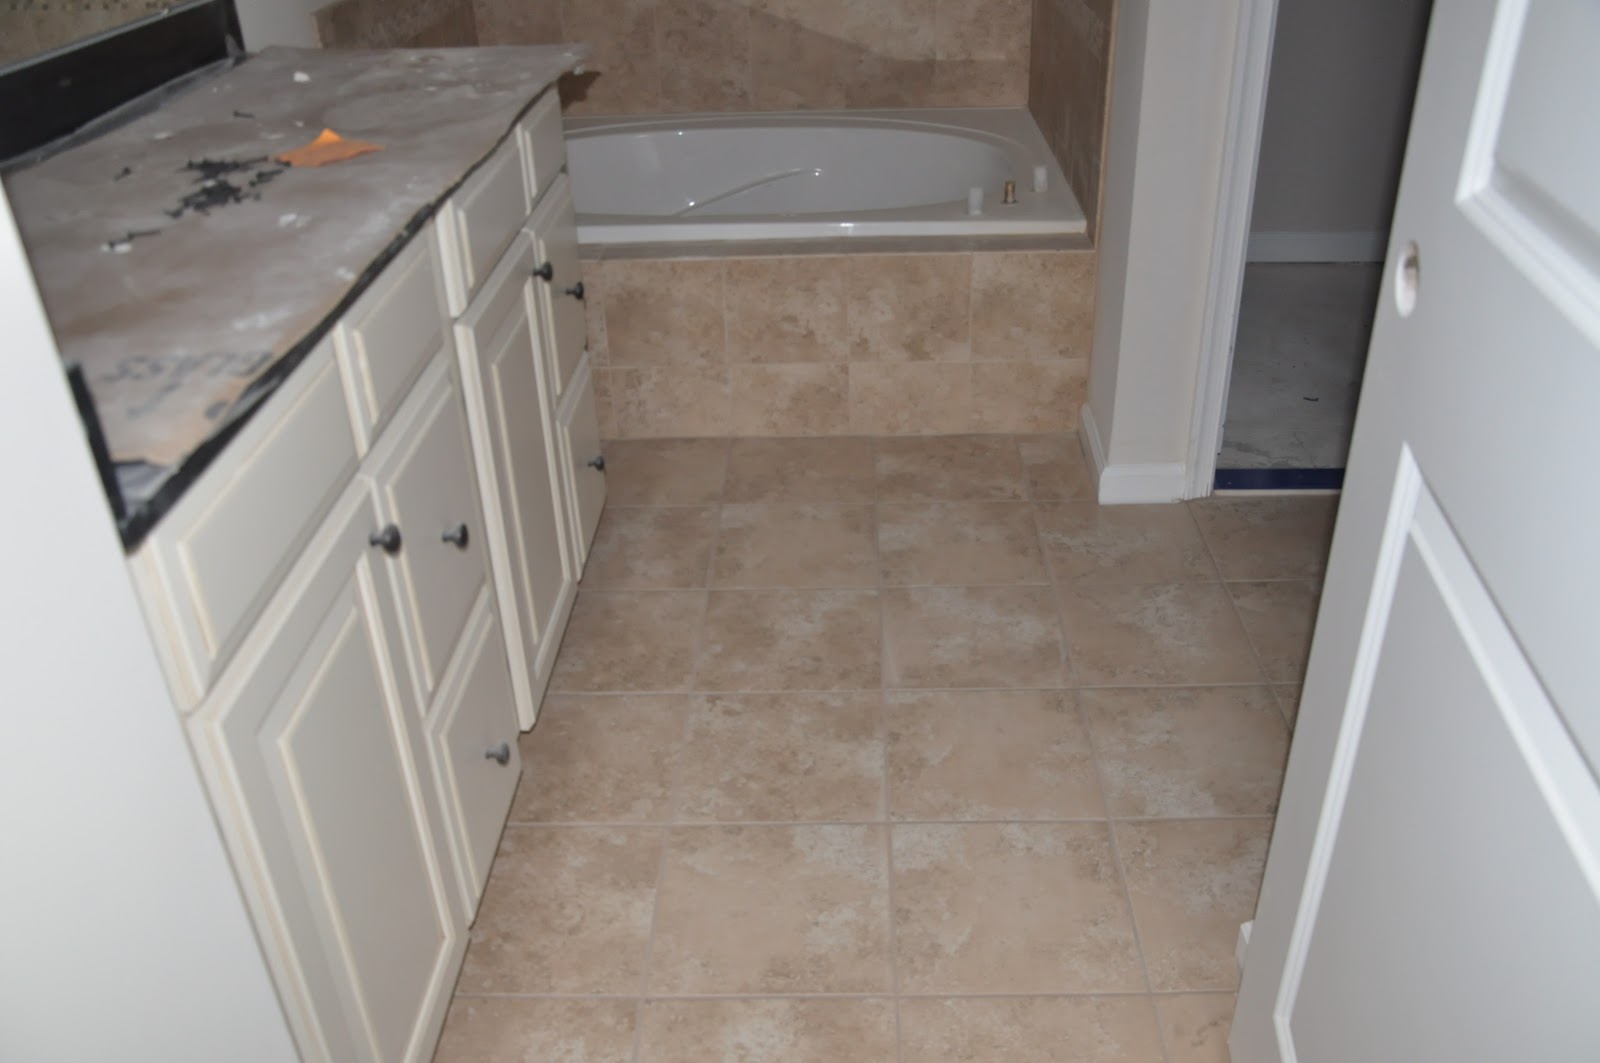
Owner's bath
Rushmore Butterscotch Glaze vanity & Absolute Black granite

First floor panorama

Master bedroom


Thursday, January 17, 2013

Question for Ravenna owners...

If you have the upgraded owners bath, where do you hang your towel? RH installed the towel bar above the tub on the same wall as the vanity. That seems kind of far away...what's your solution?

I don't know if this is a problem unique to the Ravenna so if other people have run into this, I would like to hear what you have done as well.

Thanks!

Sunday, January 13, 2013

Stained

Someone was busy in the house this morning :). When we got to the house today, we saw the railings and steps had their first coat of stain! They are gunstock to match the flooring. Whoever did it did a great job. There wasn't even that much of a mess. Nice!


Saturday, January 12, 2013

Final touches

We had our PM update on Friday and were told that the final touches will happen this week and it will seem like things are slowing down.  Well, no wonder!  When I look around, it seems like there isn't much left to do.  Of course, we still have about 40 days until closing so there is plenty of time to do any finishing touches/repairs...(sigh).

Here are some pics of progress from this week:


New outside this week:  carriage lights, metal roof, painted columns
 
Gunstock floors


Undercabinet lighting


Gunstock in the family room


Nice job around the fireplace!


Carpet!


More carpet


Toilet & faucets


More faucets
 

Shower faucet


Owner's bath window, fix in progress
  

Spacesuit for the basement :)
Basement bathroom rough-in & more spacesuit


Wednesday, January 9, 2013

Lighting update

Our SR acknowledged the upgrade mistake and offered to swap out any of our lights for what we thought we were getting.  However, after looking at everything again in person, we decided to keep what we paid for.  The upgraded hallway lights come with three bulbs in each fixture instead of two, so that's a plus. I think the reason I was a little thrown off by the semi-flush mount upstairs is because we've never had those before--we've always had the flush mount "boob" lights. If we get sick of them, we can always swap them out at a later date. 

Hallway lights
 The vanity lights were never in question--we liked those.
Vanity lights
(can be mounted up or down)
Also, we figured out why our foyer light was hanging by a chain instead of the semi-flush mount.  The light can be hung either way and the electrician decided to hang it with the chain.  I understand why.  If we had wanted it with the chain and he'd already shortened the cord, he wouldn't have been able to undo it.  This is how the foyer light will look hung as a semi-flush mount:

Foyer light
I like it much better that way and it will coordinate with the dining room chandelier:

I'm still not sure we would have purposely upgraded to this lighting package, but it worked out in the end.  I think we can live with these fixtures for a long time before feeling the need to replace them. :)


Tuesday, January 8, 2013

The lights are on

How nice to see electricity!  It was the first night since groundbreaking two months ago that we did not have to bring flashlights to see what was going on.  So much has happened over the last few days.  We have a driveway, the stove and microwave are in, most of the lights are in, and Guardian was there finishing up their wiring.  The outlets, towel bars, and closet shelving are in, and the tile is finished in the hall bath.  Next up is flooring--can't wait to see that!  Oh, and our rangehood arrived too.  Apparently the Broan in the garage is for someone else after all. 

The lights were on!

Porch lights and doorbell!

Super-bright eyeballs.  These will definitely need a dimmer.
So, now I  have some questions about our light fixtures.  When we were going over options for the house with our SR, he asked us if we wanted the light fixtures throughout the house to be oil rubbed bronze (ORB) and we said yes.  He said in order to get ORB like what the model has, we needed to upgrade to Light Package "B."  So, today when I saw our lights, I was a little confused.  First, I think I've only seen these particular ORB lights in a couple of other blogs (at most).  A lot of you have ORB fixtures and they look just like what is in the model.  Did you pay extra for your ORB fixtures?  Or did you just choose between brushed nickel and ORB and that was that?

Let's start with the hallways.  My understanding is that most homes (without a two-story foyer) come with a semi-flush mount in the foyer and what we affectionately call "boob" lights in the upstairs hallway and mudroom.  Check out our "upgrade" in the foyer.  What's up with that chain?

Foyer "chandelier"?
A pic of what is in the model is below.  You can see it better if you click on it.  It's much more refined, in my opinion.  How can the fixture we got possibly be an upgrade?


Now for the upstairs hallway and mudroom lights.  Ours are semi-flush mount and, in person, they look kind of huge and don't have much ORB on them.  I think it's a little strange to have three lights hanging down from an 8' ceiling in the hallway.  Here's a pic of one of them...


...and this is what's in the model:
 
 
I like the upgraded lights in the bathrooms, but based on all of our other "upgraded" lights, I think we could have lived with standard ORB all around.  It's hard to see in the pic below because the lights are on, but you can tell the difference from the standard ORB lights found in other models:


Okay, enough on the lights.  I just wanted to get that out there for those still in there 14-day window.  You may want to ask for a picture of what is included in your upgraded lighting package.  We made the mistake of assuming it was the same as what was in the model (based on what the SR said).  I'm not sure we would have intentionally paid extra for what we got.
 
Here's a pic of our new floor tile in the hall bath and then it's lights out. :)


Thursday, January 3, 2013

St. Cecilia is here!

We went by today to check out the tile work and got a great surprise--the granite is in!  St. Cecilia has many variations, so it was a relief to see a darker tone that provides a good contrast with our glazed cabinets.  Whew!

St. Cecilia with Rushmore Maple Butterscotch Glaze

 
The tile in the master bath has been grouted and the durango shelves were moved.  I'm really happy with how it turned out.  In the hall bath, they removed the white tile floor and prepped for the new tile.  The shower has been grouted.  Everything is looking really nice! 
 

Durango shelves
Hall bath
It's hard to see due to the lack of contrast, but trust me--it looks great!
 
They also installed the vinyl in the laundry room and sanded the floors throughout the house.  One step closer to wood floors & carpet!
Vinyl flooring in laundry - Armstrong Initiator
They also blew in the rest of the attic insulation.  We're now at R49, which will be great for the energy bills! 


Wednesday, January 2, 2013

Tile resolution

After one email this morning to the PM and a couple of phone calls with the flooring company, our tile problems have been resolved pretty painlessly.  Here's what we agreed to do:
  • For the hall bath, leave the tub surround as-is with the white 6" tile, but upgrade the floor tile to the same as the owner's bath (level C) at no extra charge and put it on the diagonal.  This way, they save the labor and destruction of removing the shower tiles and we get a nicer floor.
  • For the owner's bath, move the durango shelves to where we wanted them.  Leave the floor tiles as-is instead of ripping them out and putting them on the diagonal.  This will avoid destruction of the subfloor and a bunch of added labor.  Because we compromised on this, they will also seal all of the grout in the showers and floors free of charge and guarantee the sealant for 15 years.
While I'm a little disappointed at not having my diagonal tiles in the owner's bath, I think that overall this worked out well.  I was content with our choice of 6" almond tile in the hall bath, but it will look so much nicer with the upgraded tile.  We also don't have to worry about sealing the grout ourselves. ;)

I mentioned the crooked window in my email to the PM, but I haven't received any word on what they are going to do.  Friday is our weekly PM update, so if we don't see/hear anything before then we will definitely ask.

Tuesday, January 1, 2013

Tile problems

When we stopped by the house today, I really didn't expect to see anything new other than more coats of paint.  As it turns out, there was lots to see and it wasn't all good stuff.  Hmmm...where should I begin?

As I  made my way up the staircase and turned the corner, I was so excited to see tile in the kids' bathroom!  That excitement quickly faded when I realized that it was the wrong color.  The second thing I noticed was that we had paid extra to have the floor tile put on the diagonal and it was not. 

This should be almond, not white.
Floor tile should be on the diagonal.
I quickly made my way to the owner's bath, hoping that all would be right.  Not so much.  The color was right, but the floor tile was not on the diagonal.  Then I looked over at the shower and saw the durango shelves were on opposite sides.  We told the rep that we wanted them stacked, if you will.  However, even if that didn't get translated, why would the installer do this?  I'm interested to hear opinions on the shelf placement.  I want them on the same wall...like most people have them.
 
Durango shelves on opposite sides

I'm trying to remain calm because these things are fixable, right?  Then I looked over at the tub again.  Hmmm...that tile above the tub looks a little off--it's slanted.  We grabbed the level and discovered that it's not the tile that's slanted, it's the window over the tub!  This is the same crooked window that I had pointed out to the PM at the pre-drywall meeting.  It was not fixed and now that part of the bathroom looks like a fun house.  Admittedly, I am on the picky side about symmetry, but this is beyond obvious.  I can't walk in there everyday and look at that.  It will drive me insane.  So, I'm not sure how they'll fix that problem, but something needs to be done.  Also, upon closer inspection, we noticed that the tub itself is slanted, which makes the tile on the front of the tub look uneven.   Good grief! 
 
Willow Branch with Mushroom/Morning Sun listello
 
In an effort to end on a positive note, I would just like to say that I love our tile choice in the master bath! :)  I'm also glad we caught this before they grouted.
 
Happy New Year, everyone!!
 
UPDATE:  I need to clarify so people don't think that this tile craziness happened out of nowhere.  We had put in a change request for all of the items mentioned (almond tile in hall bath, all floor tile on the diagonal) and it was approved.  For some reason, there was a mix-up and the flooring company followed our original order and not the change request.  The flooring company did what any reputable company would do--they worked with us to make it right.  It's all fixed!